For some of us, we get a warm, cozy feeling when we think about our fireplace: Roasting marshmallows with the family. A glass of wine by the fire after a long day. Cozying up with a warm blanket and a book, watching the dancing flames.
For others of us, when we think of our fireplace, we get a creepy, eerie feeling. That dark structure lurking in the corner of our living room has never been enjoyed by anyone. It’s just sitting there taking up space.
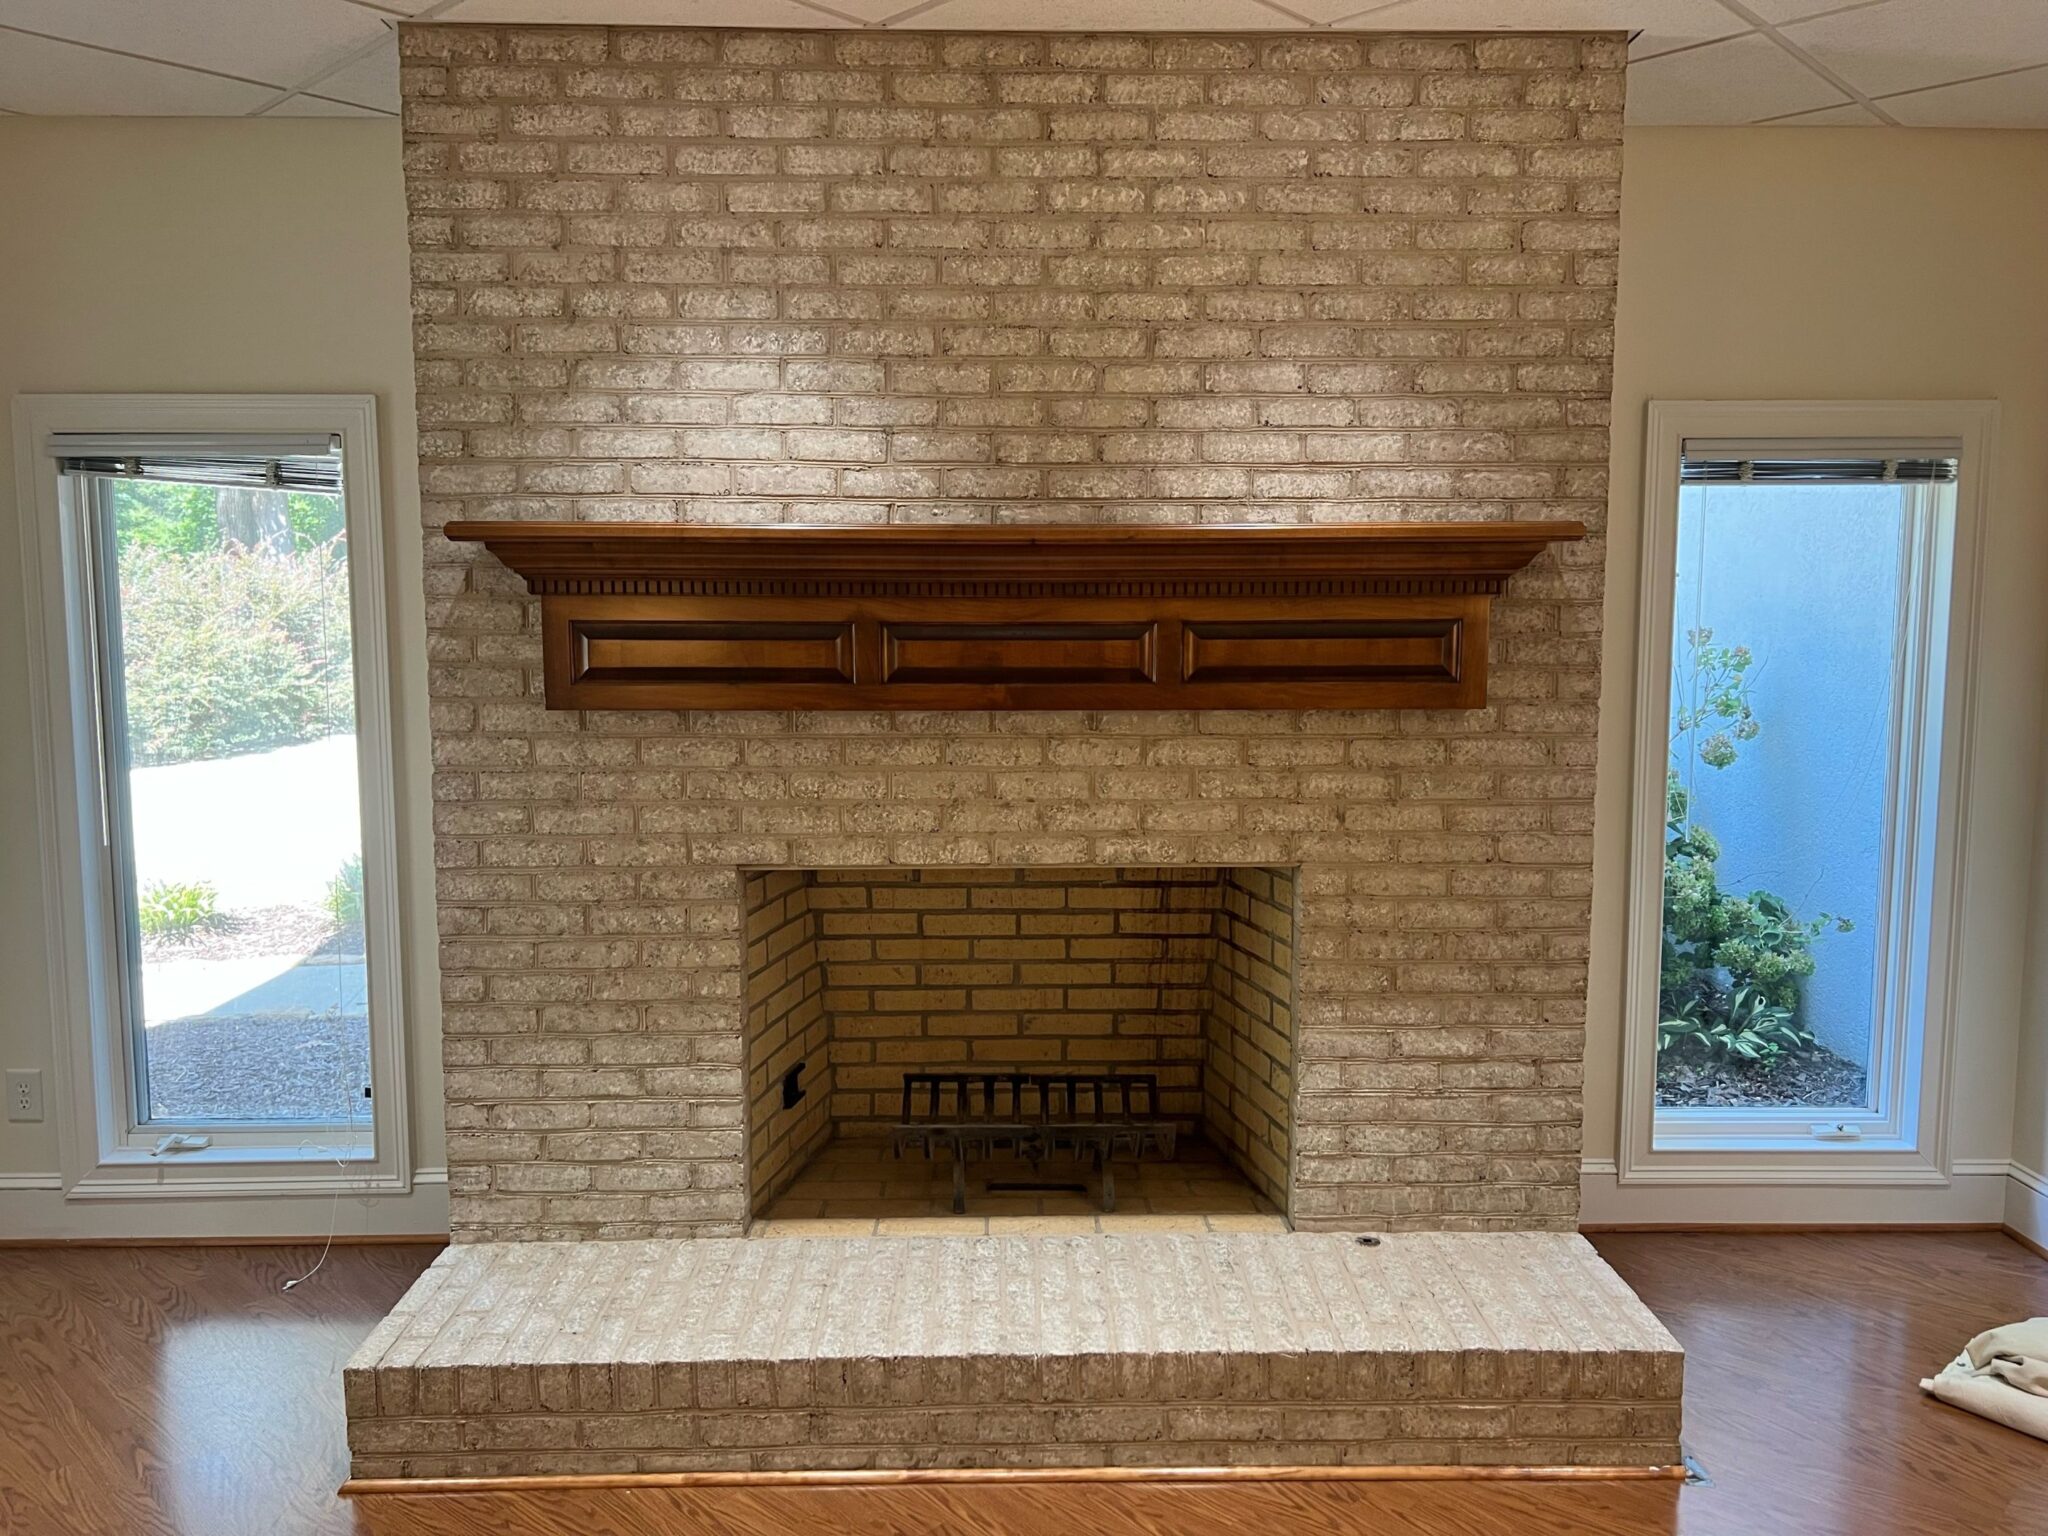
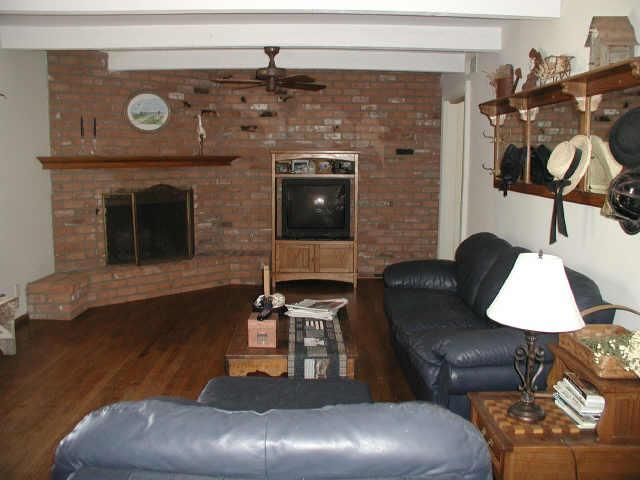
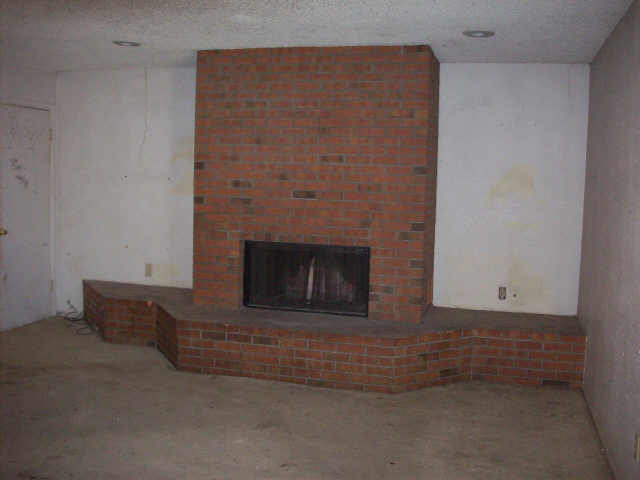
You’ve lived with that drab outdated brick for years, not knowing how to make it better. No matter how you’ve tried to decorate your room, there it is, heavy, dark, and looming.
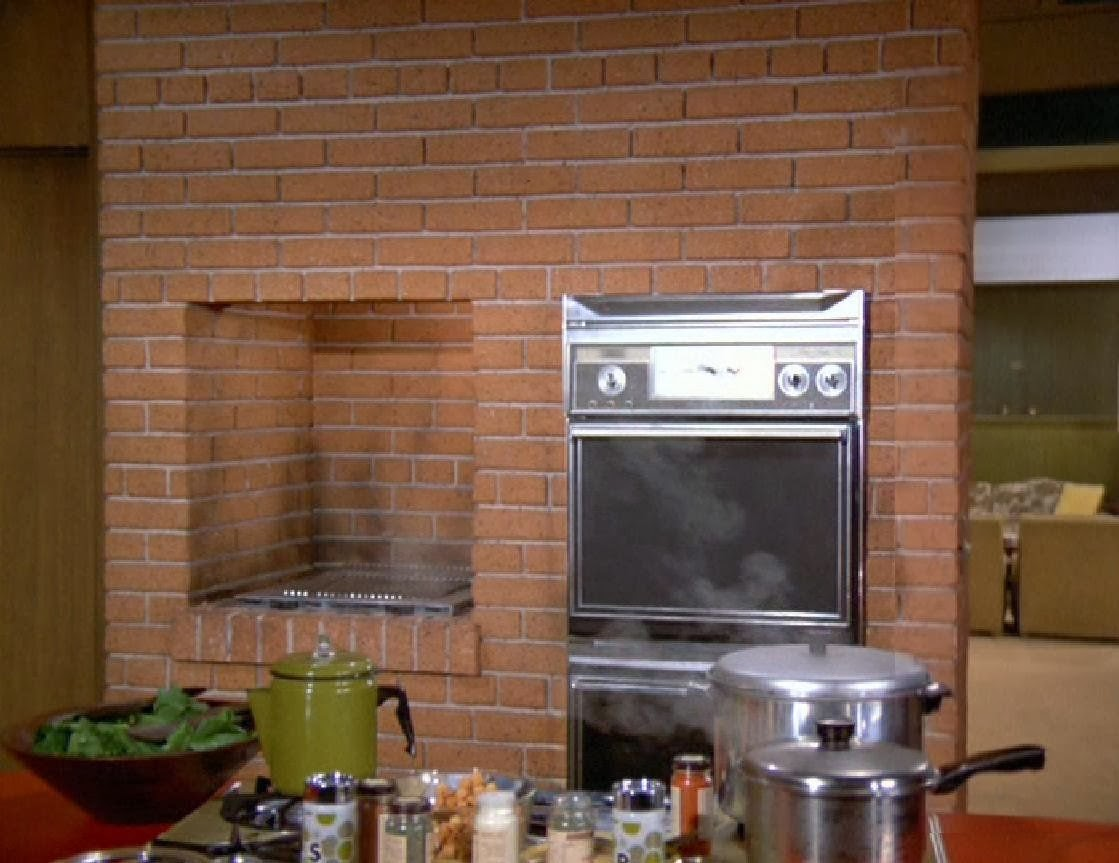
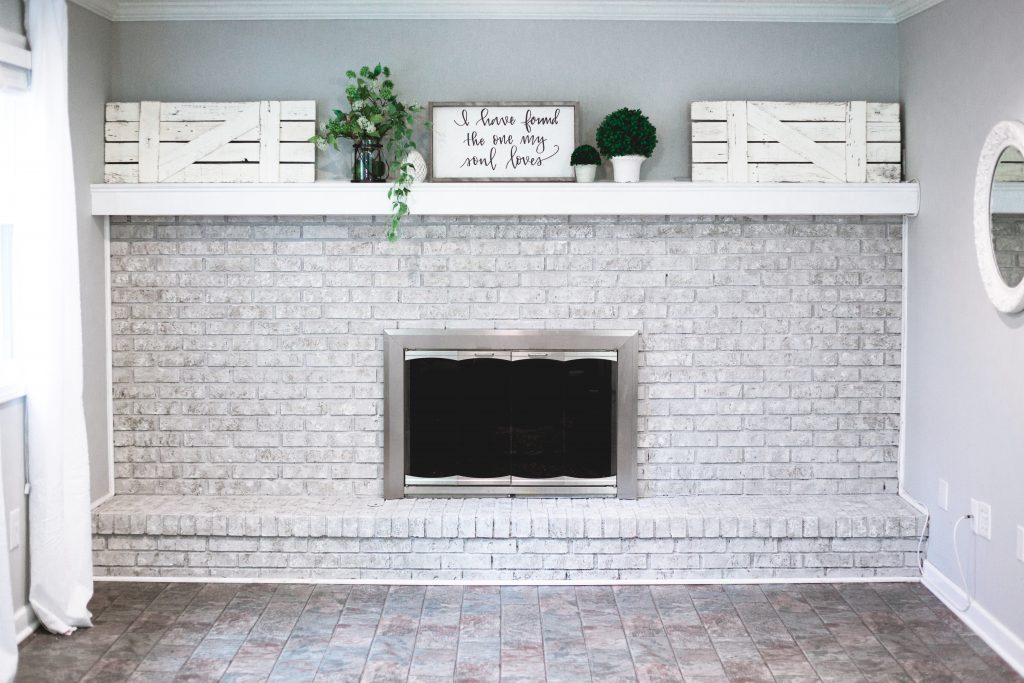
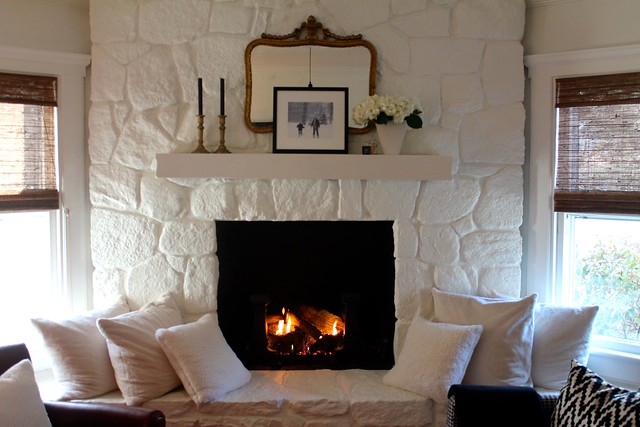
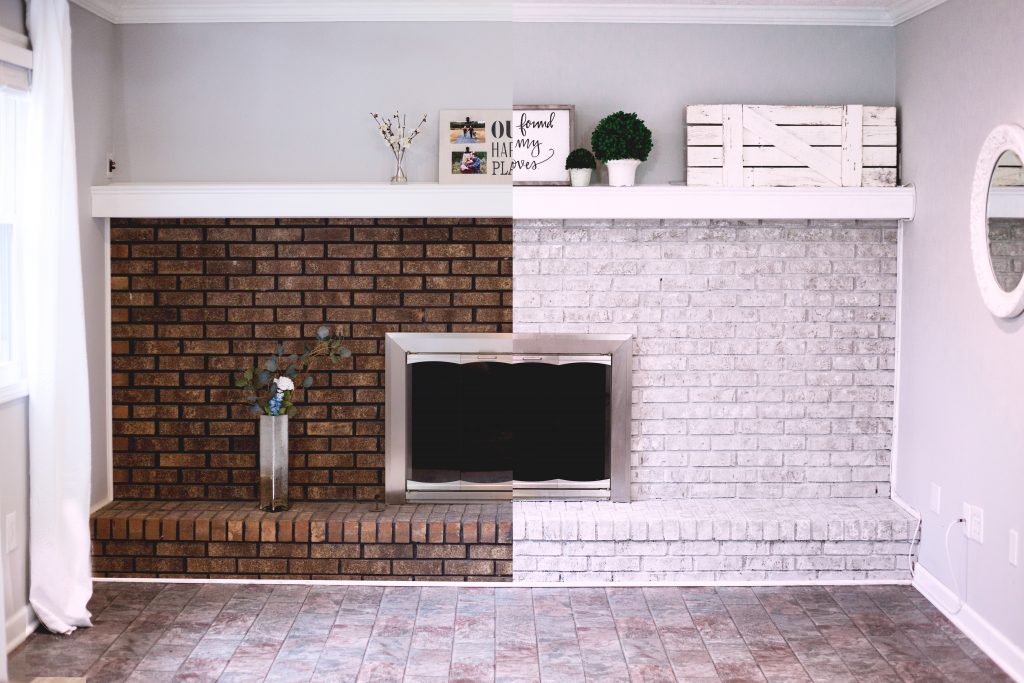
That dingy “Brady Bunch brick” was groovy in the 1970s, but today, not so much. It’s time to get rid of that ugly brick once and for all and give your fireplace a facelift with paint!
Painting your brick or fireplace surround is a fast, easy way to get a fresh new look without breaking the bank. Whether your ugly, outdated brick is a wall in your kitchen or a fireplace in your living room, paint is just the thing to brighten that brick. It’s cheaper than any other remodeling option, and what have you got to lose by giving it a try? You can always choose another remodeling option if you don’t like your painted brick.
This three-part series gives you the rundown on fireplace painting options so you can find the best option for your brick. Part #2 talks about colors and techniques, and part #3 gives you step-by-step instructions. Check them out and get inspired to tackle that fireplace painting project you’ve put off for so long.
What’s the Return on Your Investment after Painting Your Brick?
Page Contents
When you look at any remodeling project, you think seriously about it. Is it worth the time, money, and effort? Painting your old red brick can be done in just a day, sometimes a weekend if there is a lot of surface area. You can choose any paint color, and the starting cost of a project will be under $200, though, again, the size of your fireplace may drive the cost up some.
Even a $500 project will be far less than any resurfacing project. Those can cost upwards of $2000. The effort required depends on the method you choose. Most methods are easy for DIYers of any level.Although it may seem like a huge project, painting your fireplace doesn’t take that long compared to other more complicated and expensive home improvement projects.
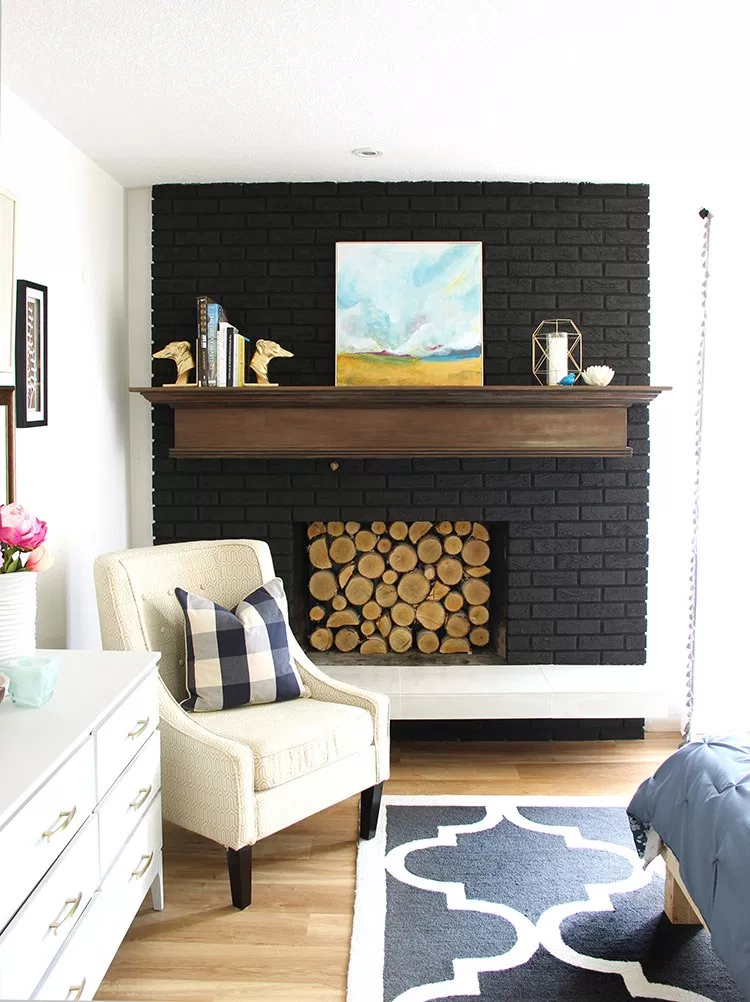
A fresh coat of paint can really live you a lot of bang for your buck. The key idea is: if your brick is ugly and outdated, no matter how you try, you can’t really improve it unless you remodel with paint, hire a contractor to reface with a different material, or tear it out and rebuild it with a different color brick. Refacing and rebuilding are quite expensive, so we recommend trying the paint first. If you hate it, you can still turn to those other options, but thousands of homeowners have fallen in love with their painted fireplaces. You can too.

Can Old Paint be Removed from Brick?
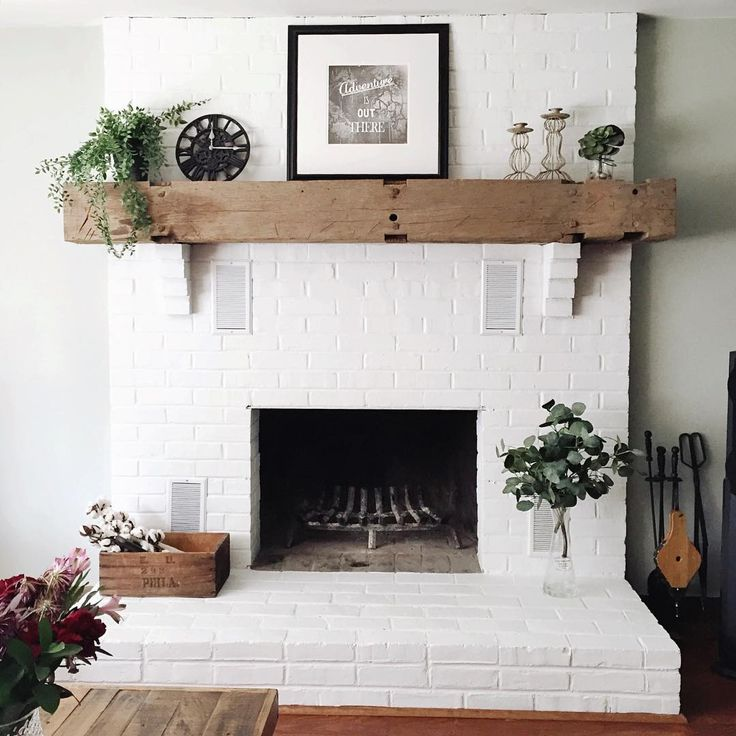
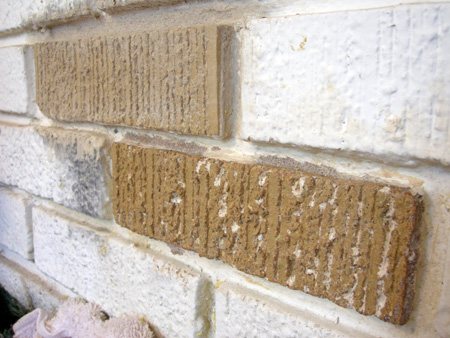
Removing paint from brick can be tedious and time consuming. It’s not an easy task. A better option is to paint over the painted brick with a different color or use the Brick-Anew Paint Kit. This paint kit doesn’t give a flat look like most paint. A fireplace painted with Brick-Anew doesn’t look like it’s been painted at all; it looks like it’s been rebuilt with new brick. So if you hate that solid white, the Brick-Anew paint kit is an easy way to get that real brick look back without the hassle of removing the paint.
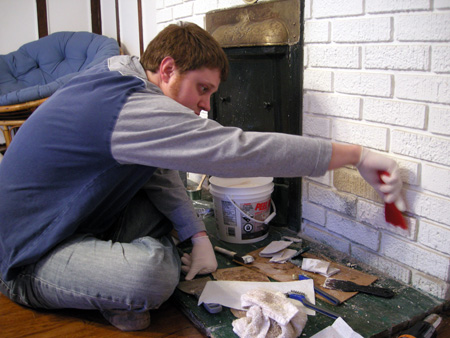
If you decide that taking off the paint is the best option, here are a few guidelines and a step-by-step process.
#1 Consider hiring a professional.
Especially if you have a large amount of brick, you may want to hire a professional. The process requires a lot of time and effort. This isn’t a project you’ll want to take a break from and leave half done since it requires a lot of prep before you start working and will look quite odd half-finished.
#2 If you’re going to to it yourself, find good products.
Try and find paint stripping products that don’t have harsh fumes. Look for gel and paste compounds and fabric based peeling strips.
#3 Stay away from sandblasting and powerwashing.
These processes can damage the surface of your brick.
The step-by-step process:
Materials
- Stripping agent
- Peeling strips
- Sturdy scrub brush
- Protective goggles and gloves
- Drop cloth
- Trowel
Steps
- Apply the paint stripper in a small area. (This step is optional, but you may want to start in an inconspicuous area before you apply the agent all over the brick. This will let you know how well the product works and about how much time your project will take.)
- Prepare the area by laying down a drop cloth and taping it to the area around the brick. Be sure to cover any furniture, carpet, or anything else you don’t want covered in bits of dry paint.
- Put on protective gear and protect your work area. Apply the stripping agent to the brick.
- Position the peeling strips and press them into place. Overlap the strips to cover all the brick. Let the strips set according to the manufacturer’s instructions.
- After the appropriate amount of time has passed, begin lifting the strips. Use either the scrub brush or trowel to remove leftover paint and residue after the strip has been removed. Rinse the brick with water.
Final Thoughts
Feeling inspired yet? Painting your brick is quick, easy, and inexpensive. If you don’t like it, you can always try another color or turn to a resurfacing or rebuilding option. But we doubt it’ll come to that. See you in part #2!

