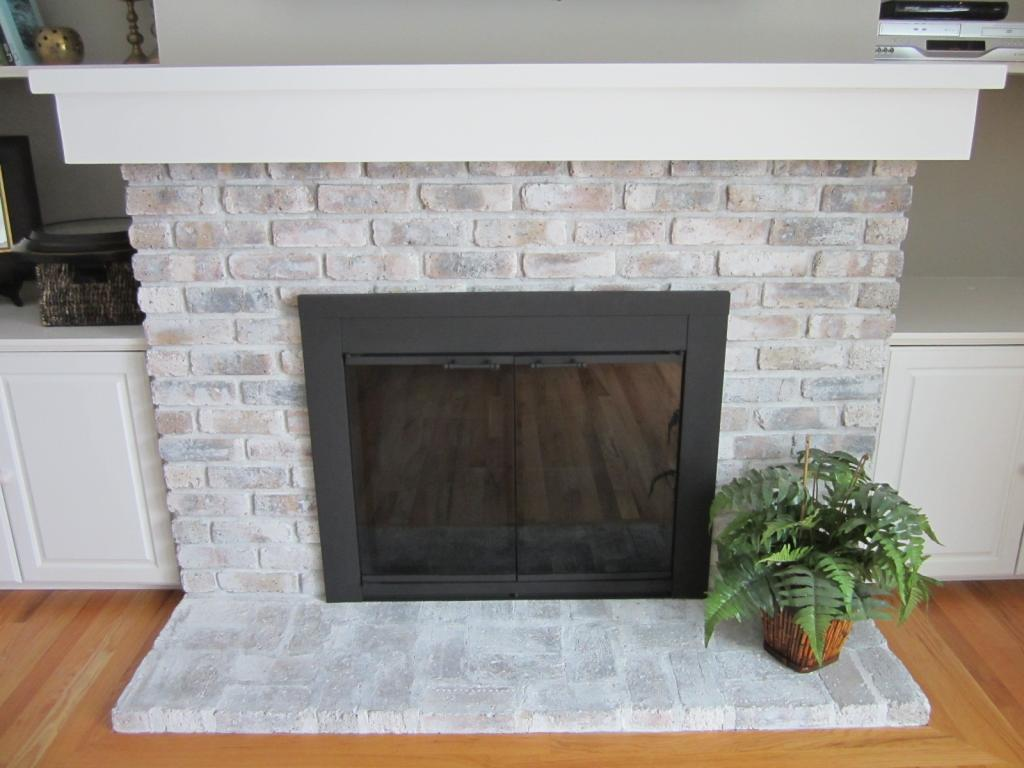
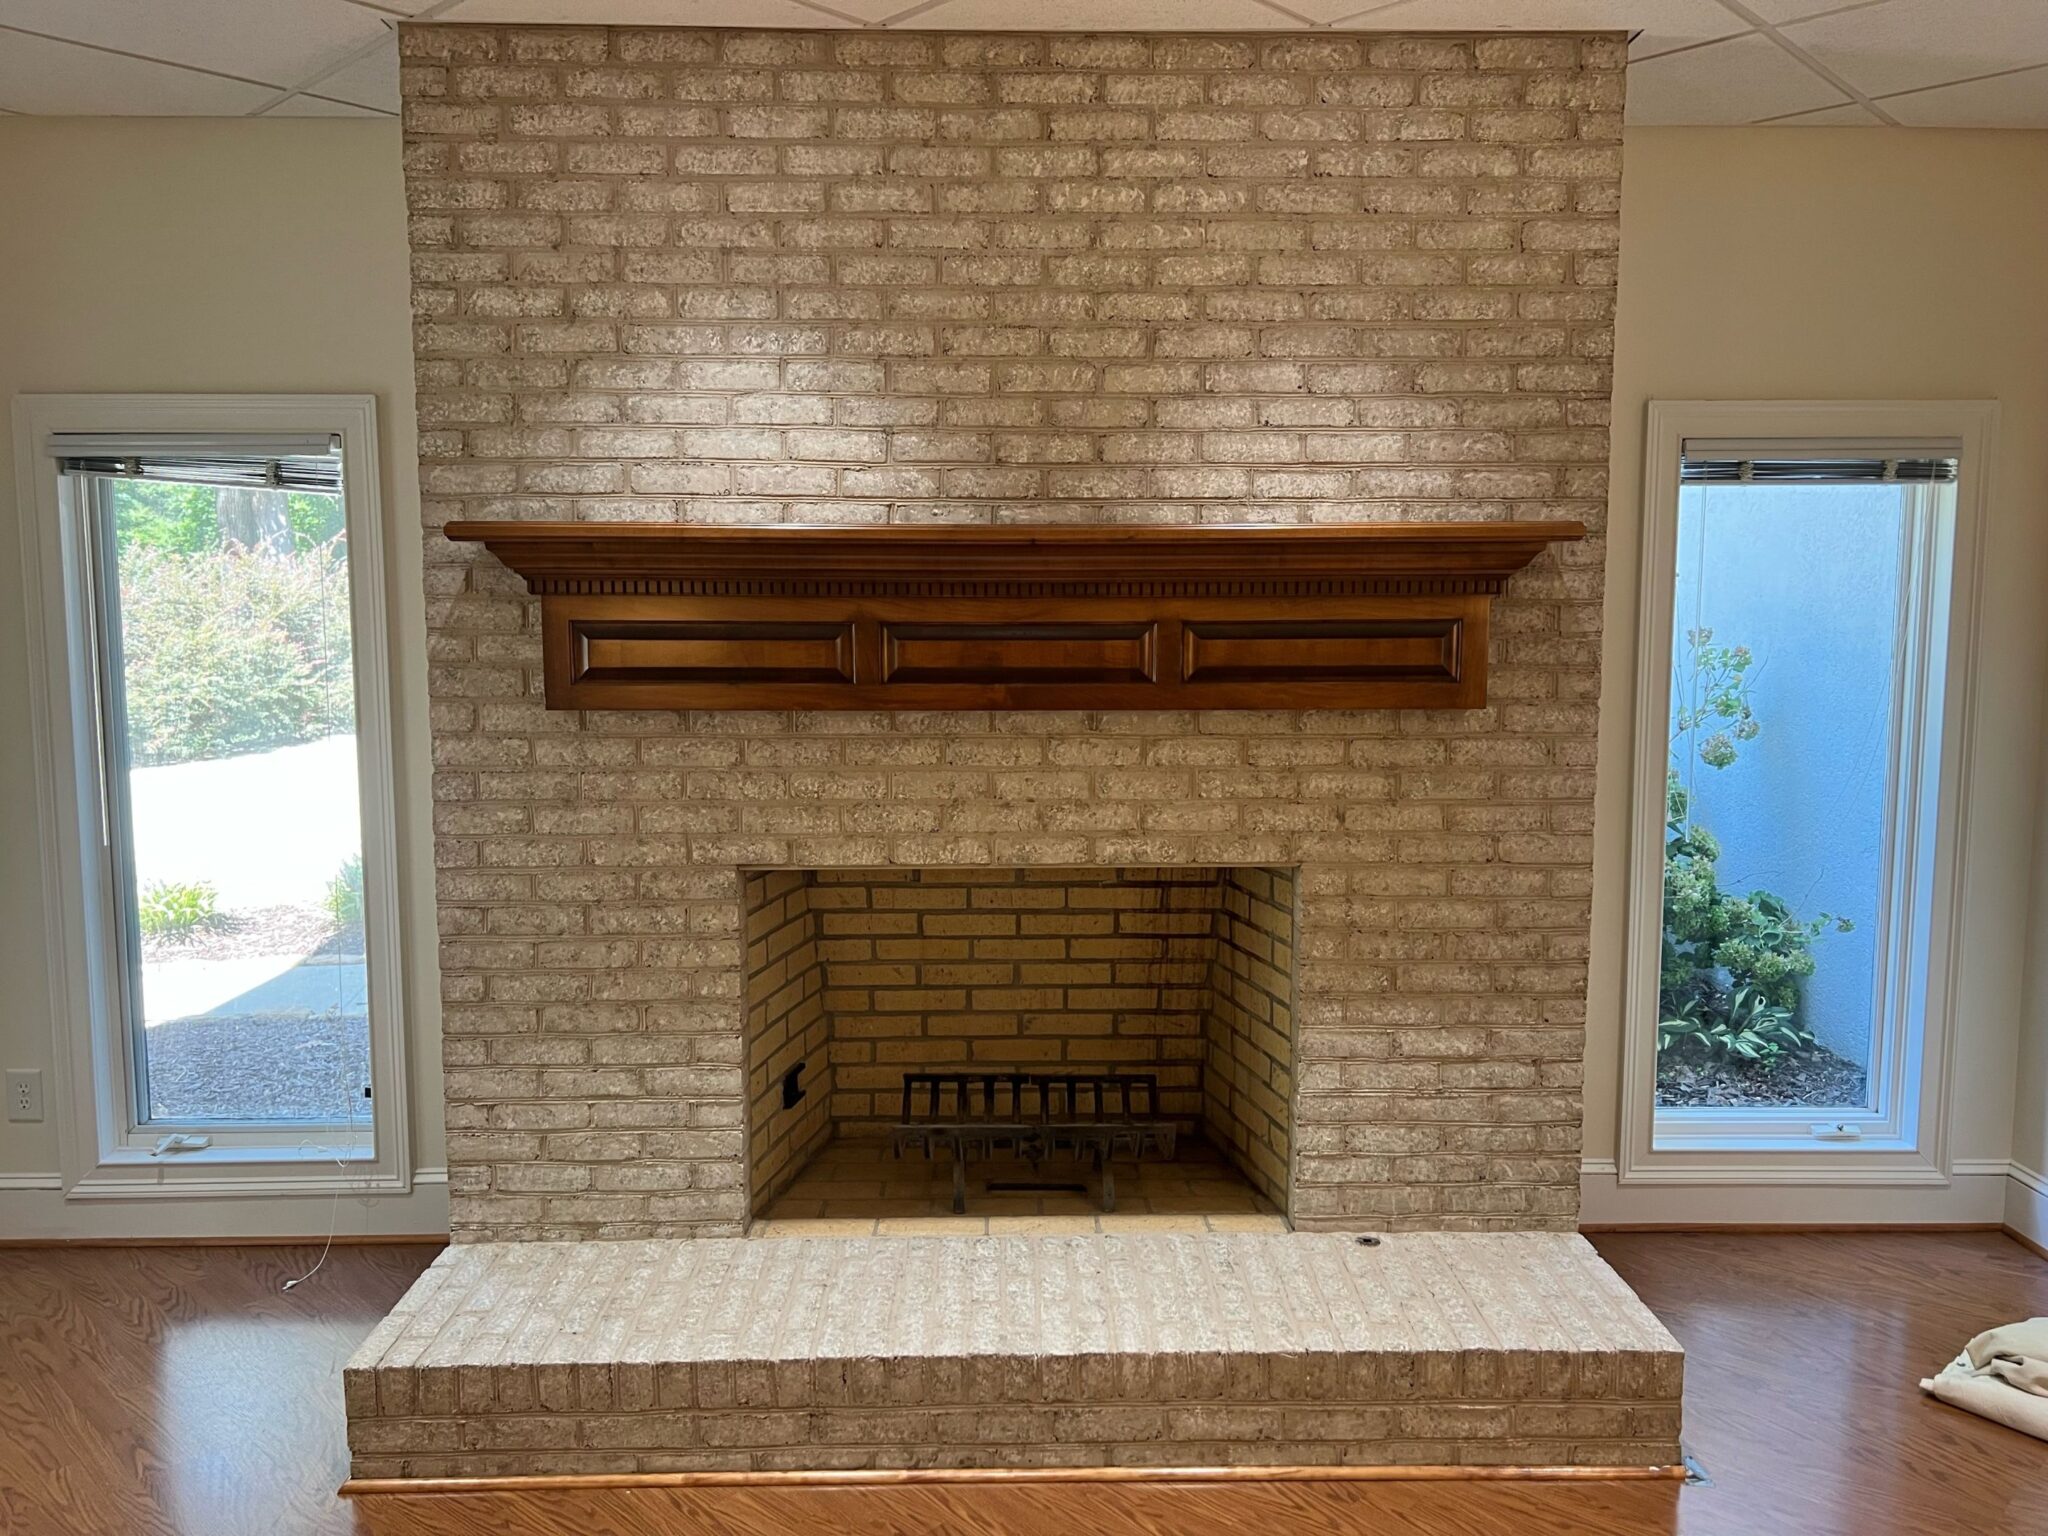
After spending endless hours on Pinterest scrolling through beautiful before/after pictures of painted fireplaces, you’ve finally decided to take the plunge and remodel your fireplace with paint. Now you’ve got another decision to make. Do you want a whitewash fireplace or a limewash fireplace? What’s the difference in whitewash and limewash anyway?
To put it simply: limewash is a specific type of whitewash that uses a mixture of limestone, tint, and water instead of latex paint. You can whitewash your brick with either a latex paint or a limewash. Both techniques are water-based and work well on porous surfaces surfaces such as brick. Whitewashing tones down the bricks’ natural look by coating them with a solid thin layer of paint. Limewashing also involves painting on a thin layer but allows you to remove the paint easily within five days if you’re not happy with the results.
Whitewash Painting
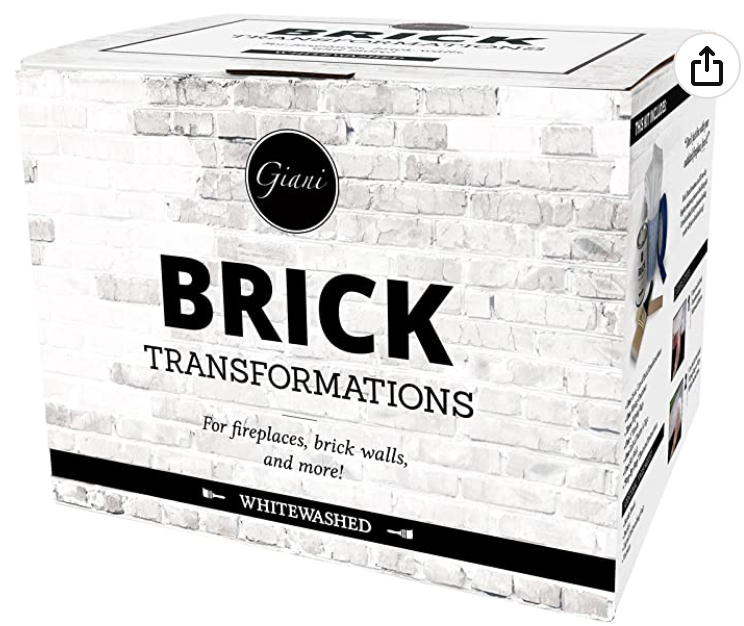
Whitewash painting refers to applying water-based paint mixed with water to brick. Applying this thin layer of paint tones down the natural colors in the brick, allowing a little brick to peek through. Whitewashing is fairly easy, even for the most inexperienced DIY newbie. It doesn’t cost much and the process is prety quick depending on the size of the area to be covered.
So, there you have it! White washing or lime washing your outdated brick fireplace can bring new life to your room. You can choose your shade of paint for either technique so whether you’re partial to an eggshell white or a soft gray, you can find the shade just right for your room.
Both paint processes allow you not only allow you to get the look you prefer by deciding on the paint shade but also how much paint you want to apply. Whether you want a more solid whitewashed look or a more distressed “old world” look, you can breathe new life into a tired old fireplace in just a few hours using either of these paint techniques.
PROS
- Cheap
- Easy to apply
- Dries fast
- Can be done with paint around the house
- Will last 20-30 years with no maintenance required
CONS
- May require several coats depending on desired look/coverage
- Dries fast, meaning no grace period to determine if you like the look
How to Whitewash a Brick Fireplace
Materials You’ll Need:
- Bucket of water
- Scrub brush
- Rutland Fireplace Cleaner
- White Paint
- Large Soft Paint Brush
- Old Rag
- Painter’s Tape
- Drop Cloth
- Plastic Container to Mix Paint
- Stir Stick
Step-By-Step Instructions - How to Whitewash a Brick Fireplace
- First of all, make sure your brick is clean. A bucket of water, good scrub brush, and fireplace cleaner should do the trick to remove any dust, dirt, and grime from the brick.
- Mix the paint in the plastic container with water and stir well. Typically, you mix one part paint to one part water. But you can adjust the ratio to get the coverage you’re looking for. Some people like a heavier paint and some prefer a more watered down version.
- Tape off all areas around your fireplace between the floor and your walls to keep the paint from spilling over. Taping around your mantel area is also a good idea. Lay down drop cloth.
- Now you’re ready to start painting. Paint the mixture of paint and water over all your brick and mortar. Start in a small area to be sure you’re getting the look you want. Mix more paint for heavier coverage.
- Use your wet rag to wipe off any areas that seem to have too much paint.
Our Recommendations:
Limewash Painting
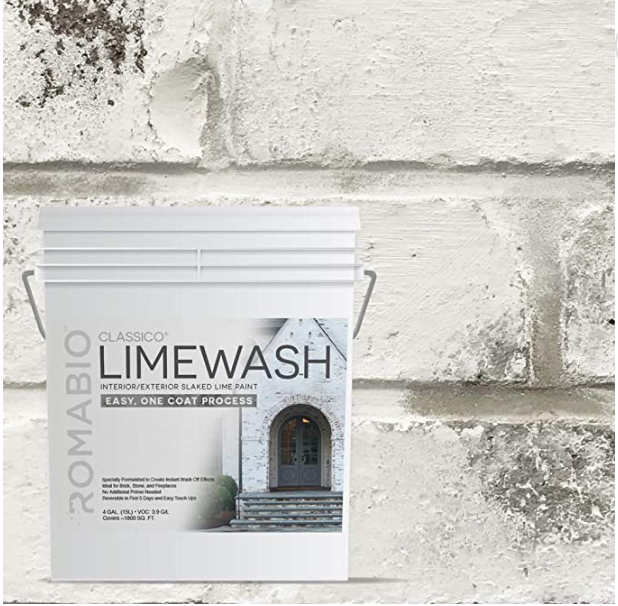
Limewash paint has limestone in it which has been crushed to turn it into putty. After that, the putty is thinned using water. It’s usually white but you can buy tinted versions as well. The result is a matte, chalky look. Limewash paint “breathes” easily so moisture doesn’t get trapped in the bricks. But since your fireplace is inside your house, moisture won’t likely be a problem. If you’re not into mixing up your own limewash, there’s a product called Romabio that has the paint mixed for you which makes the process super easy. An advantage to this technique is that if for some reason you’re not thrilled with the results, you have about 5 days to easily remove the paint.
PROS
- More dimensional look than whitewash
- Easy to apply
- Very easy to distress, wipe off parts of paint
- Resistant to odor, moisture, fungi, and insects
- Sinks into porous surfaces so texture of brick remains the same
- All-natural, non-toxic, and eco-friendly
- Hypoallergenic
- Cheap to make yourself
- Can be removed up to 5 days after applying
CONS
- May require several coats depending on desired look/coverage
- Expensive if buying pre-mixed
- Difficult and hazardous to mix yourself
- Hard to match colors of batches if mixing yourself
- Color becomes much lighter after drying, good idea to test before you paint
- May need touching up every 5 years or so
Materials You’ll Need:
- Bucket of Water
- Scrub Brush
- Fireplace Cleaner
- Romabio Classico Paint
- Soft Large Paint Brush
- Old Rag
- Painter’s Tape
- Drop Cloth
- Plastic Bucket to Mix Paint
- Stir Stick
- Spray Bottle with Water
Step-by-Step Instructions - How to Limewash a Brick Fireplace
- First, clean your brick using a bucket of water and fireplace cleaner, making sure to remove all dirt, dust, and grime.
- Tape off areas around the fireplace so paint won’t spill over onto walls, floor, or mantel. Lay down drop cloth.
- Use the water in the spray bottle spray just enough to dampen brick.
- Pour paint into mixing bucket and then dilute the Classico Limewash 50% -100% with water and mix completely. Start with less water since can always add more.
- Apply the paint using the brush over all the brick and mortar. Start from the top so you can paint over any paint that has dripped
- When the paint has dried for about 10-20 minutes but is still damp, spray more water on the brick and wipe with a rag to get a distressed look.
- Touch up any areas with paint to get the look you want.
Our Recommendations:
Alternative Options
Not sold on limewash or whitewash? Here's some other options you may want to consider for your fireplace painting project:
Brick-Anew Paint
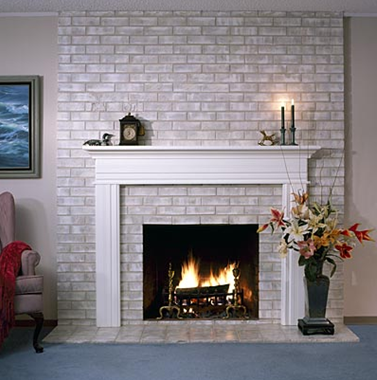
If you’re not into the look of exposed brick or have a previously painted fireplace, you may want to consider this DIY fireplace paint kit from Brick-Anew. Brick-Anew is one of our favorite new fireplace painting products. Unlike painting your fireplace a single coat or color, Brick-Anew’s specially formulated paint gives your fireplace a completely new look (similar to the dimensional look of limewash) while still maintaining the feel & texture of natural brick. The kit comes in 3 different color schemes and includes all the required tools as well as a step-by-step instructional video (which, customers write, removes the need for any artistic ability).
PROS
- Can change entire color of brick while maintaining the natural look and texture
- Works on previously painted fireplaces
- Easy to apply
- Includes all required tools/supplies & instructional video
- No artistic talent needed
- 30-day money back guarantee if you don’t like the look
CONS
- Expensive
- Dries fast, meaning no grace period to determine if you like the look
UPDATE: Brick-Anew now offers a paint kit for stone fireplaces as well, which is available for purchase on their website.
Our Recommendations:
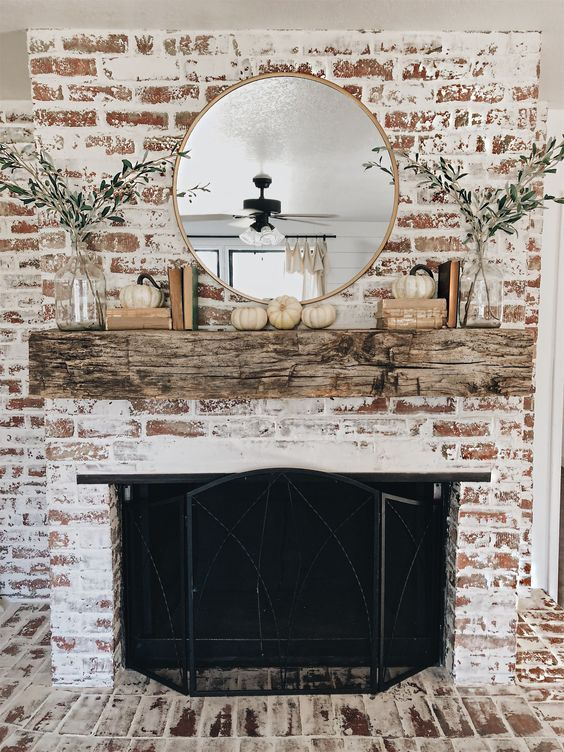
German Smear
Named after it’s origination in the historic castles of Northern Germany, the German Smear is another close relative of the whitewash technique. Technically known as a “mortar wash,” the German Smear is achieved by applying wet mortar to the brick, instead of latex or lime.
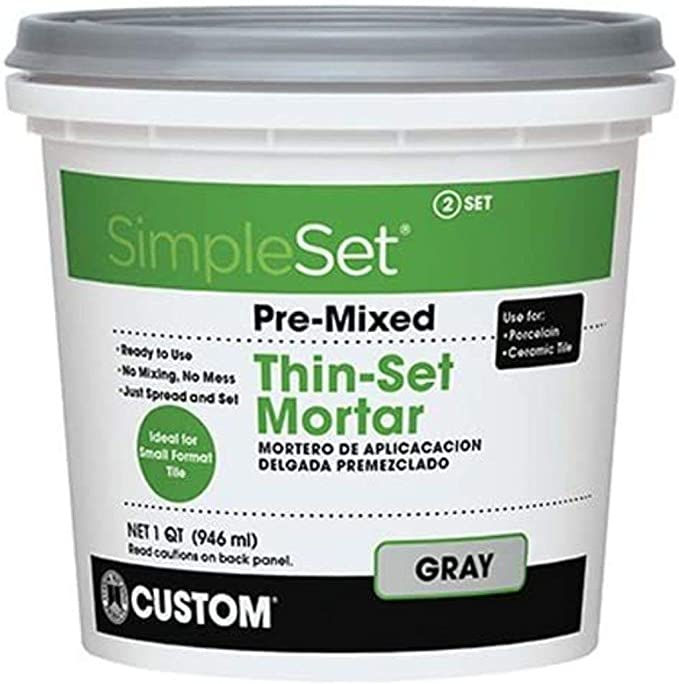
You can either mix your own mortar or use a pre-mixed mortar to speed up the process. Unlike whitewash, the mortar does not get absorbed by the brick, but rather hardens over the surface.
Read more about the German Smear technique here.
PROS
- Rustic, “old world” look
- Cheap
- Extremely durable and long lasting with no maintenance required
CONS
- Intensive and time-consuming to apply
- Can’t be done on previously painted brick
- Extremely hard to remove
Our Recommendations:
So there you have it! Whether it’s whitewashing, limewashing, German Smear, or using alternative products like Brick-Anew, there’s no wrong answer to updating that old fireplace of yours. Just choose the look that speaks to you, and don’t look back. Have you had a great experience with another fireplace painting technique or product? Let us know in the comments below! And be sure to check out our blog for more information and helpful articles regarding fireplace painting.

